
you may recall for our seating assignment display I was inspired by this pin:

when we last left off I had acquired a frame and spray painted it.

now I needed to add a back and plant the moss.
first up I wanted a way to keep everything in place. I read about chicken wire for succulent walls, and figured I could do something similar for this. So I took some wire from a recent Darby smart box and spray painted it forest green. then using my trusty staple gun secured it to the inside of the frame.
moss doesn't need very much dirt to grow, but I figured better play it safe and add a little bit of room. so I screwed some 2 by 4 in the back making a "frame on the frame" and adding a few boards on the back. this left me with a very study, albeit ugly, frame.
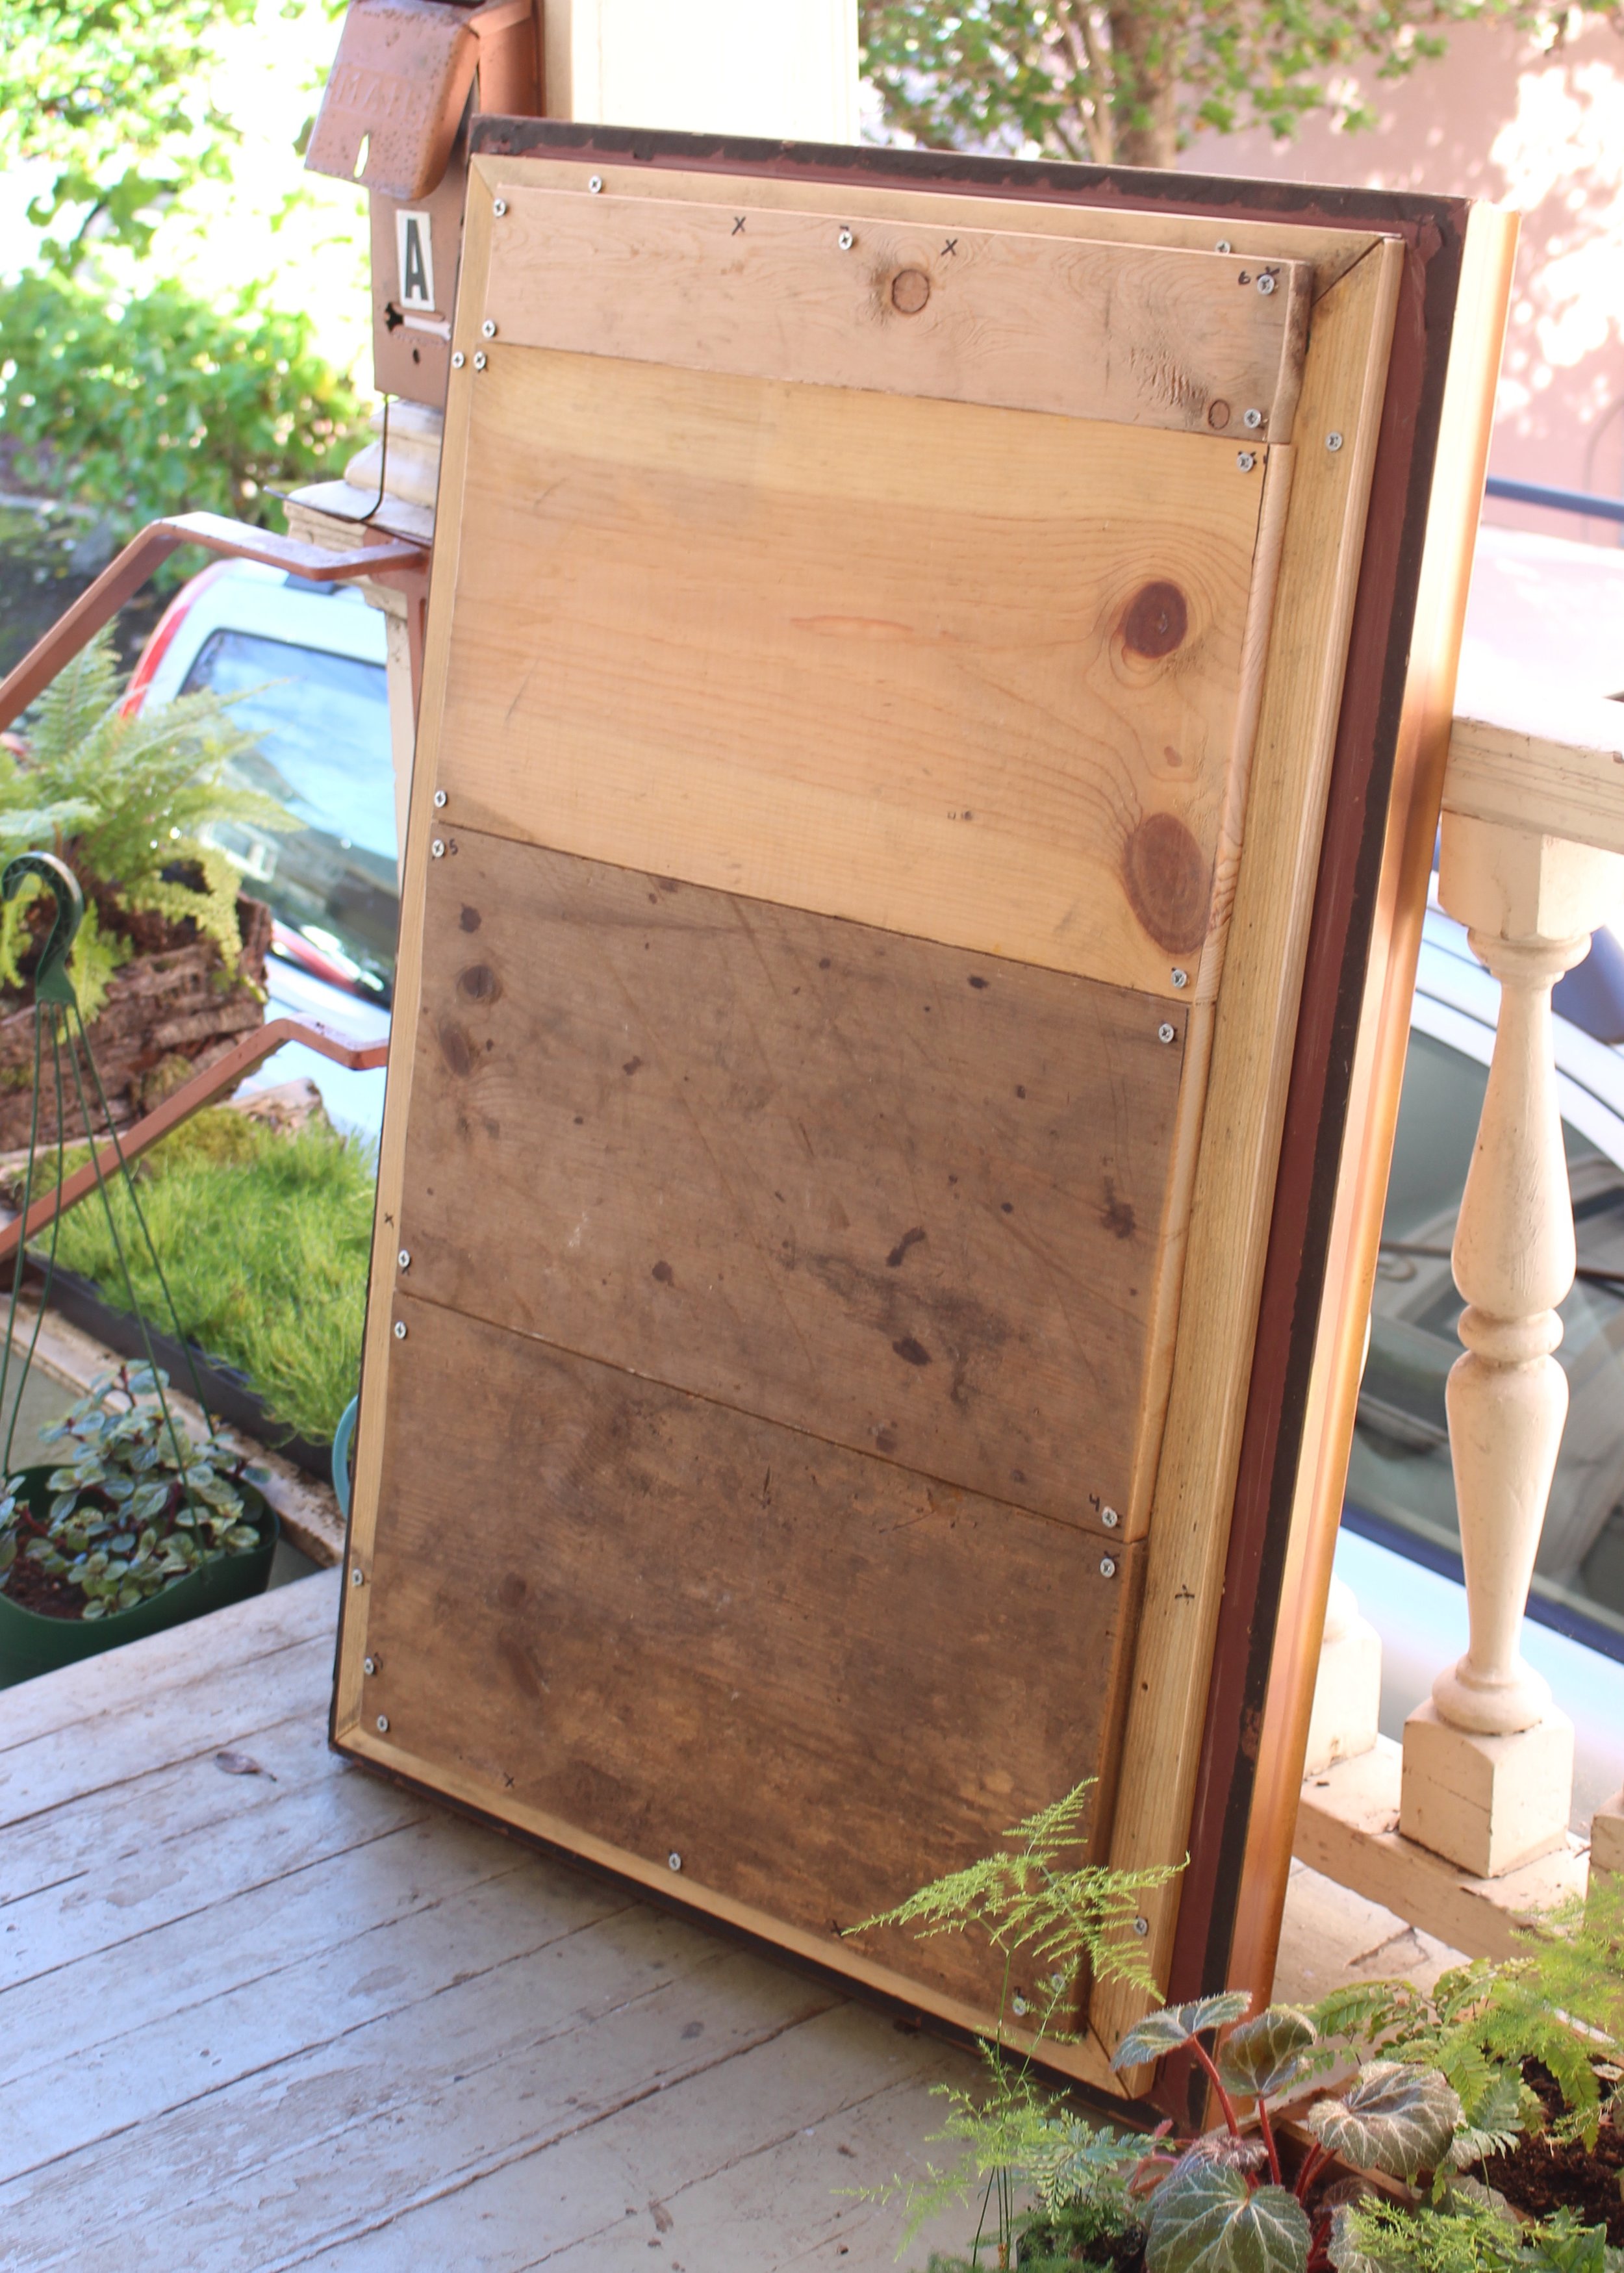
then I sanded down the rough spots and drilled some holes for drainage.

then I tapped off the sides, and spray painted the whole back in three very light coats forest green.
now it was time for the plants. After adding some dirt I planted a flat of spring Irish moss from the east bay nursery, intermingled normal moss from our yard, and some ferns. It looked pretty good, especially after I gave it a good misting.

Over the next few weeks I misted it several times a day.

despite this it started looking less than great. Turns out moss doesn't transplant well. So I went to orchard supply and picked up two flats of needle ivy and replaced the transplanted moss.

overall this project was about $100, here is how the cost broke down.
ivy & moss frame cost break down
wait until you see how it turned out and the signs I put in here!
love,
aunt maggie

so you want to know the best part about planning a wedding? everyone wants to help!
early on in our engagement my nieces indicated a strong desire to contribute to the wedding. my mom came up with an idea: have them make pot holders as favors for the guests.

it's wedding wednessday!
we've covered the dresses i made for nora, etta, maya, and neela. so now the time has come to talk about their accessories.


when victor and I got engaged I said i wanted our wedding to have three things:
- all my nieces as flower girls
- said nieces in love aunt maggie dresses
- food trucks at the reception

any youngest child will tell you there is often pressure to do things exactly as their siblings have done them.

as previously mentioned i wanted lush overgrown living arrangements (i.e. plants in dirt) for our centerpieces. obviously i decided to grow them myself.
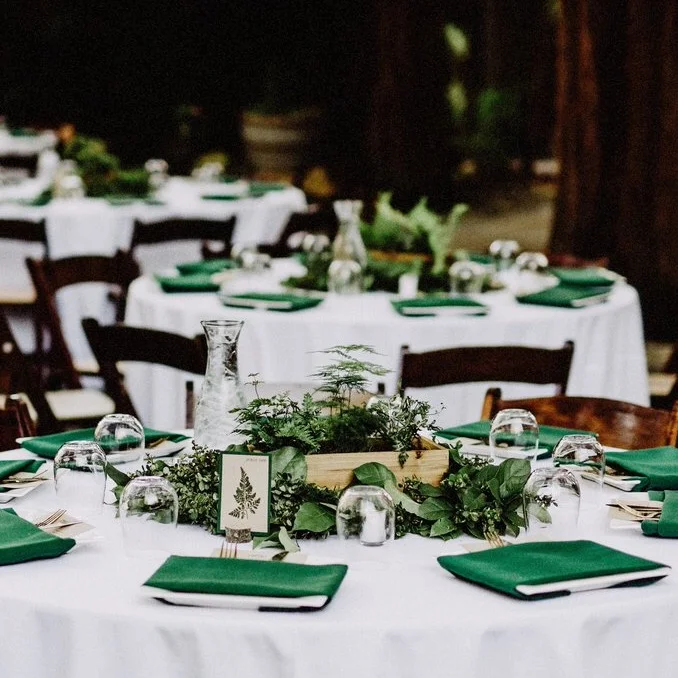
it's wedding wednesday!
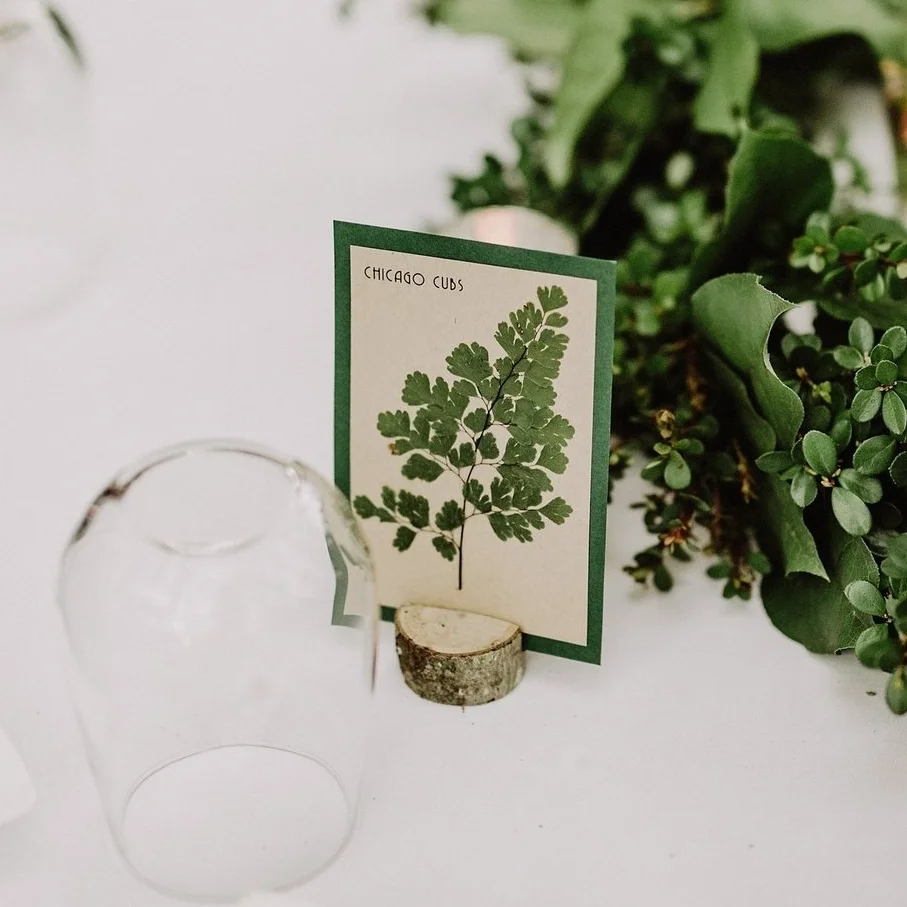
since my table signs were so cute i figured they needed a way to be displayed on the tables that was just as adorable.

aside from flower girl dresses and food trucks there is one more thing about our wedding I've had planned for years: the table names.


here is one thing I learned about wedding planning: once you decide on a venue and guest count the amount of money you are going to spend is pretty much set. but while you can't save money you can get more for your money.
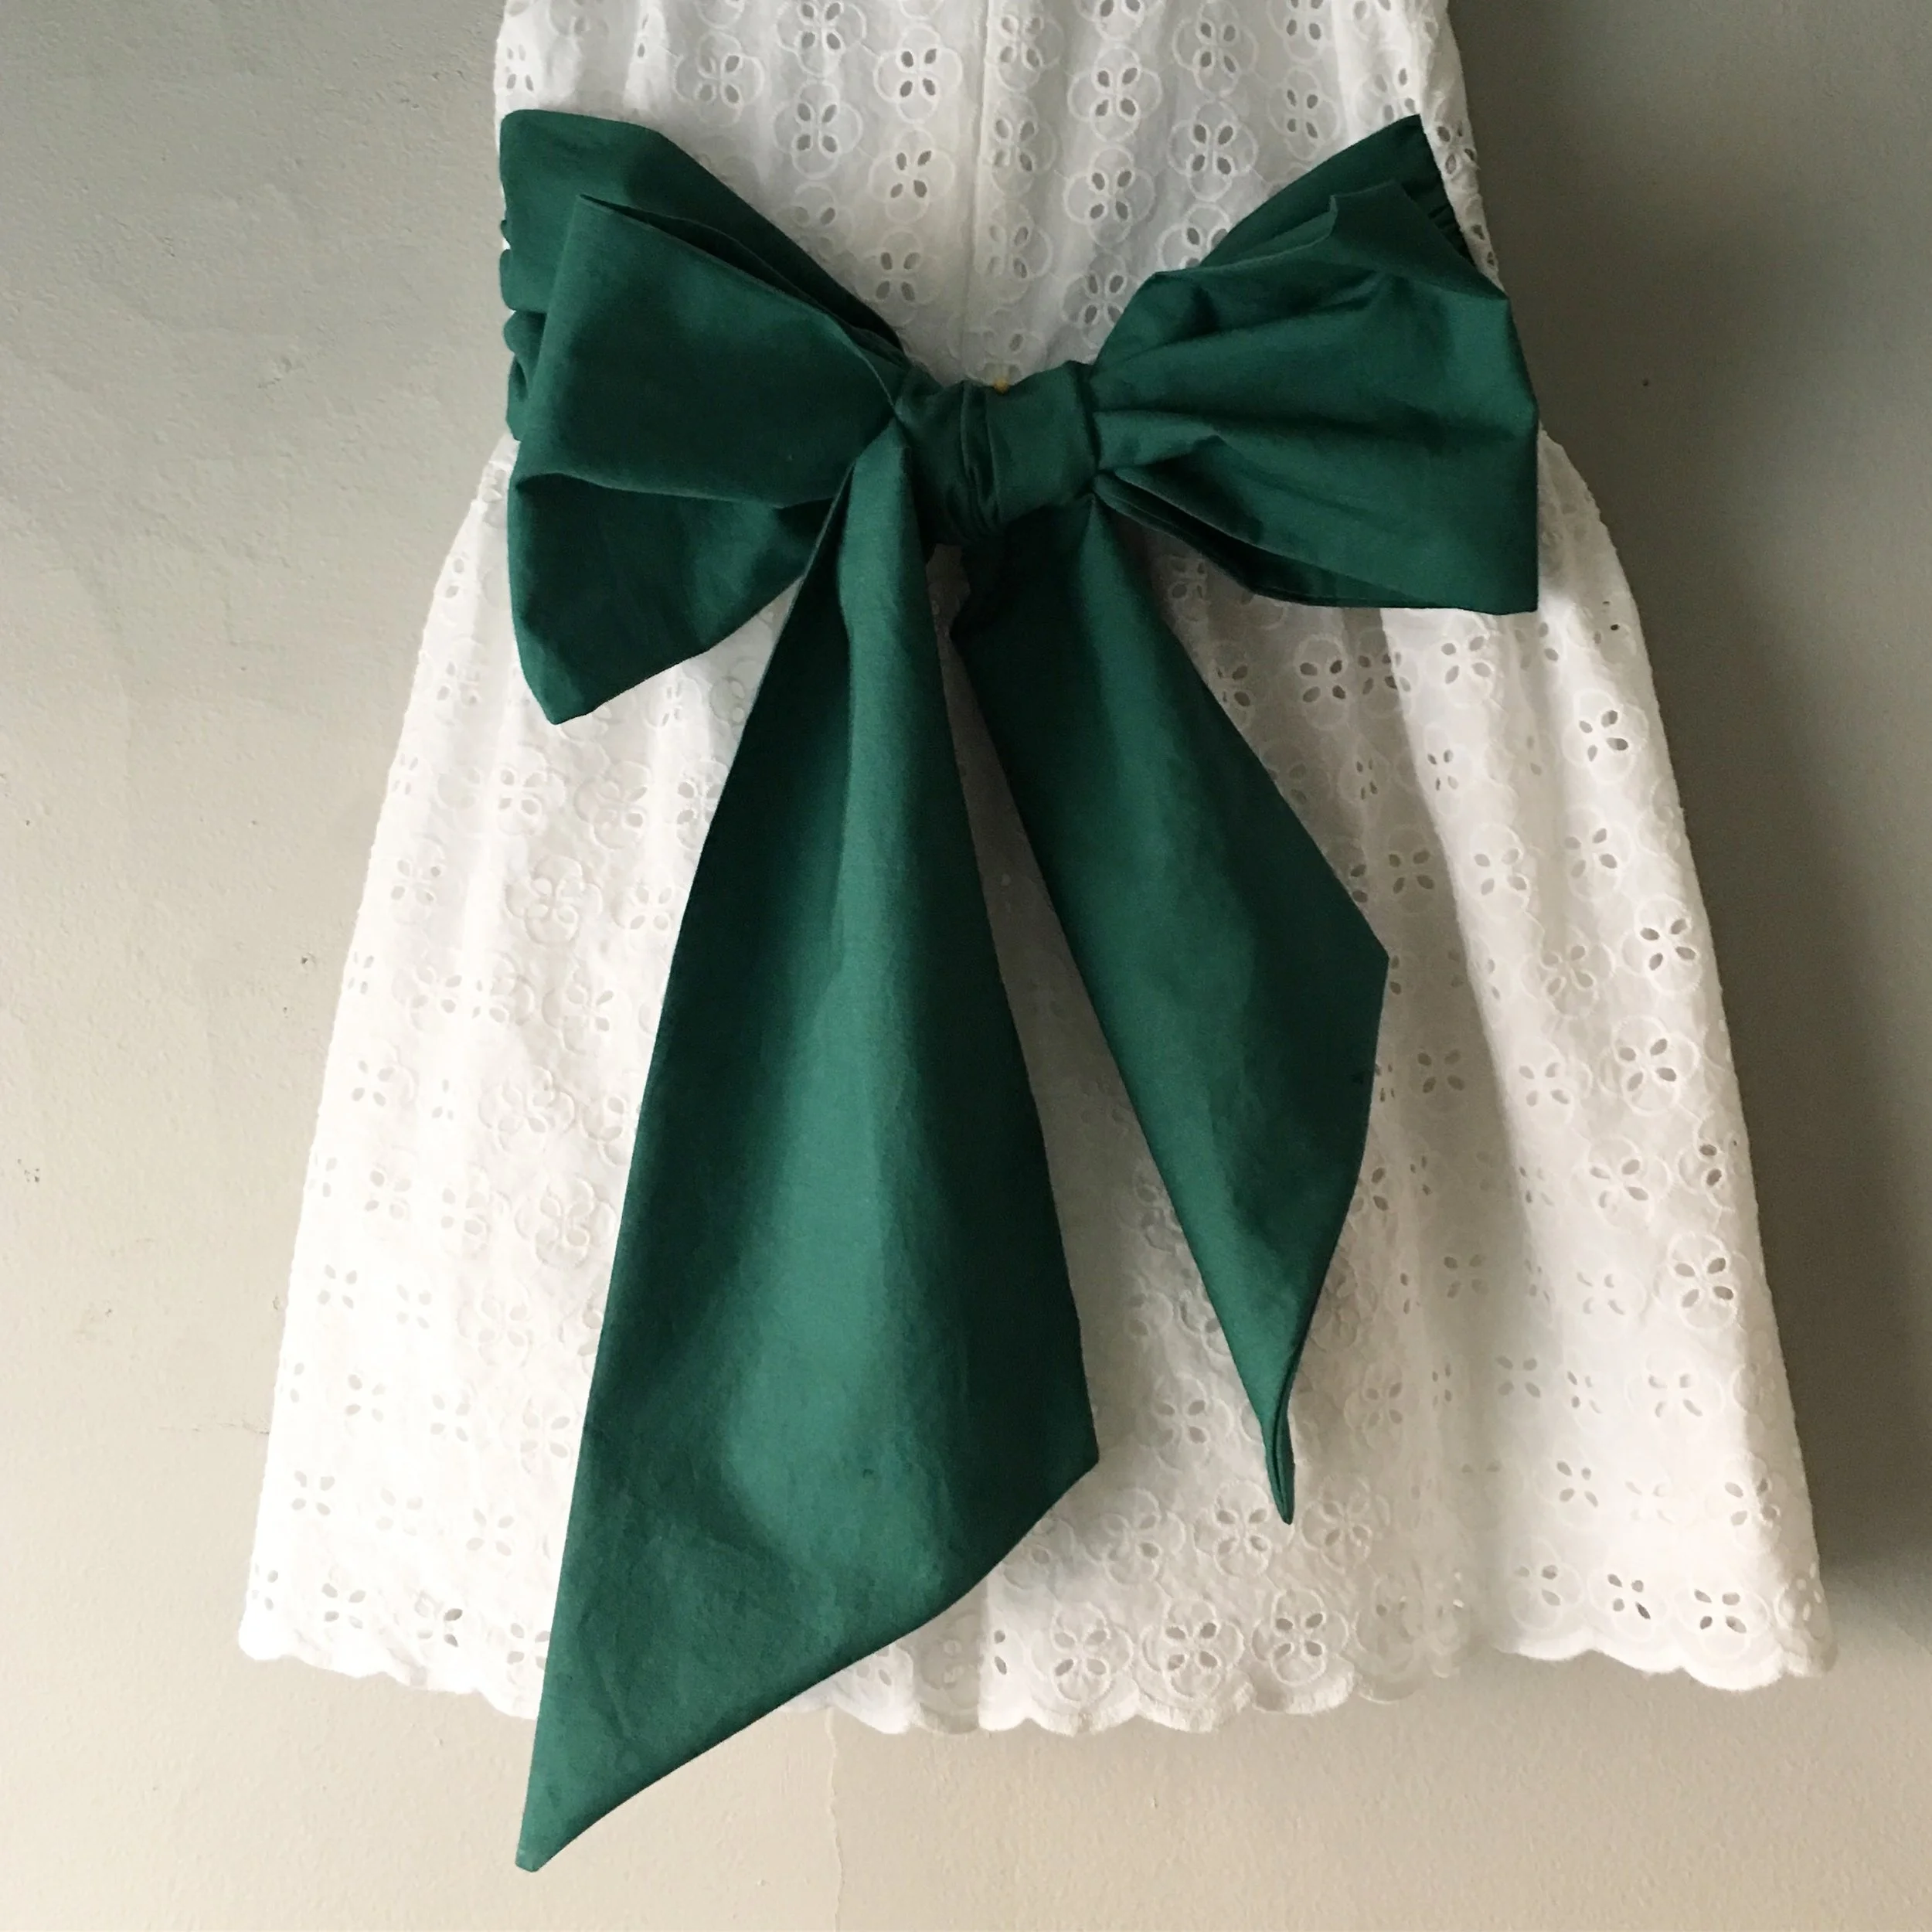
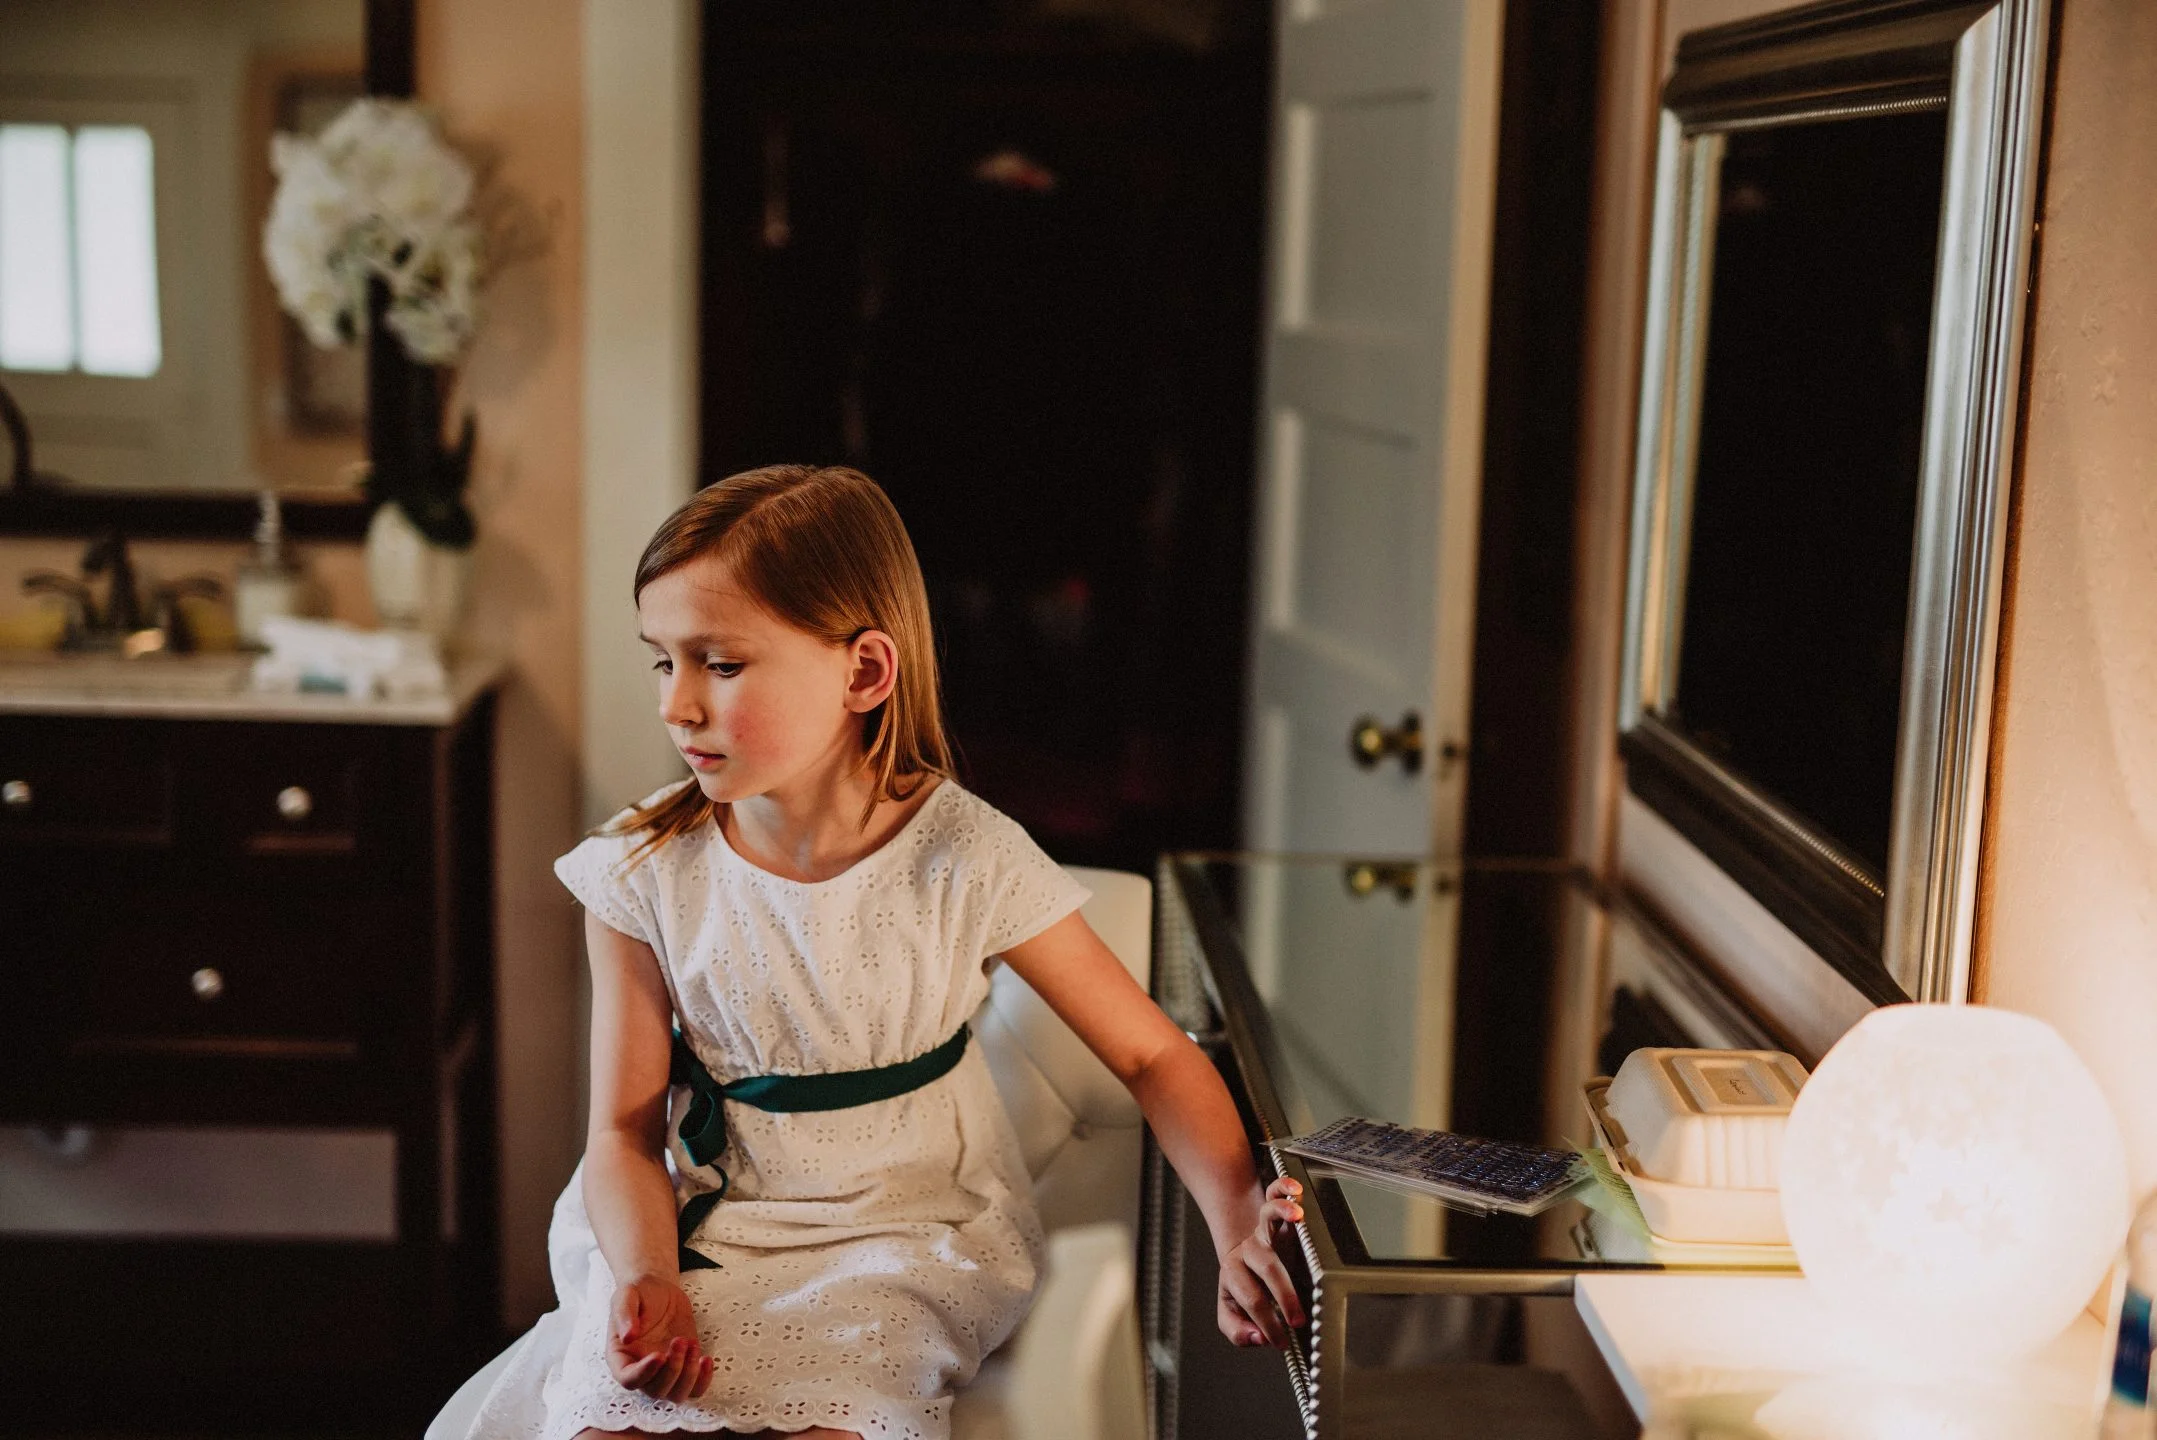
now that we've covered maya, neela, and etta's flower girl dresses it's time to make something for nora. i knew whatever I made had to be very special as nora was so very helpful in picking out my dress.
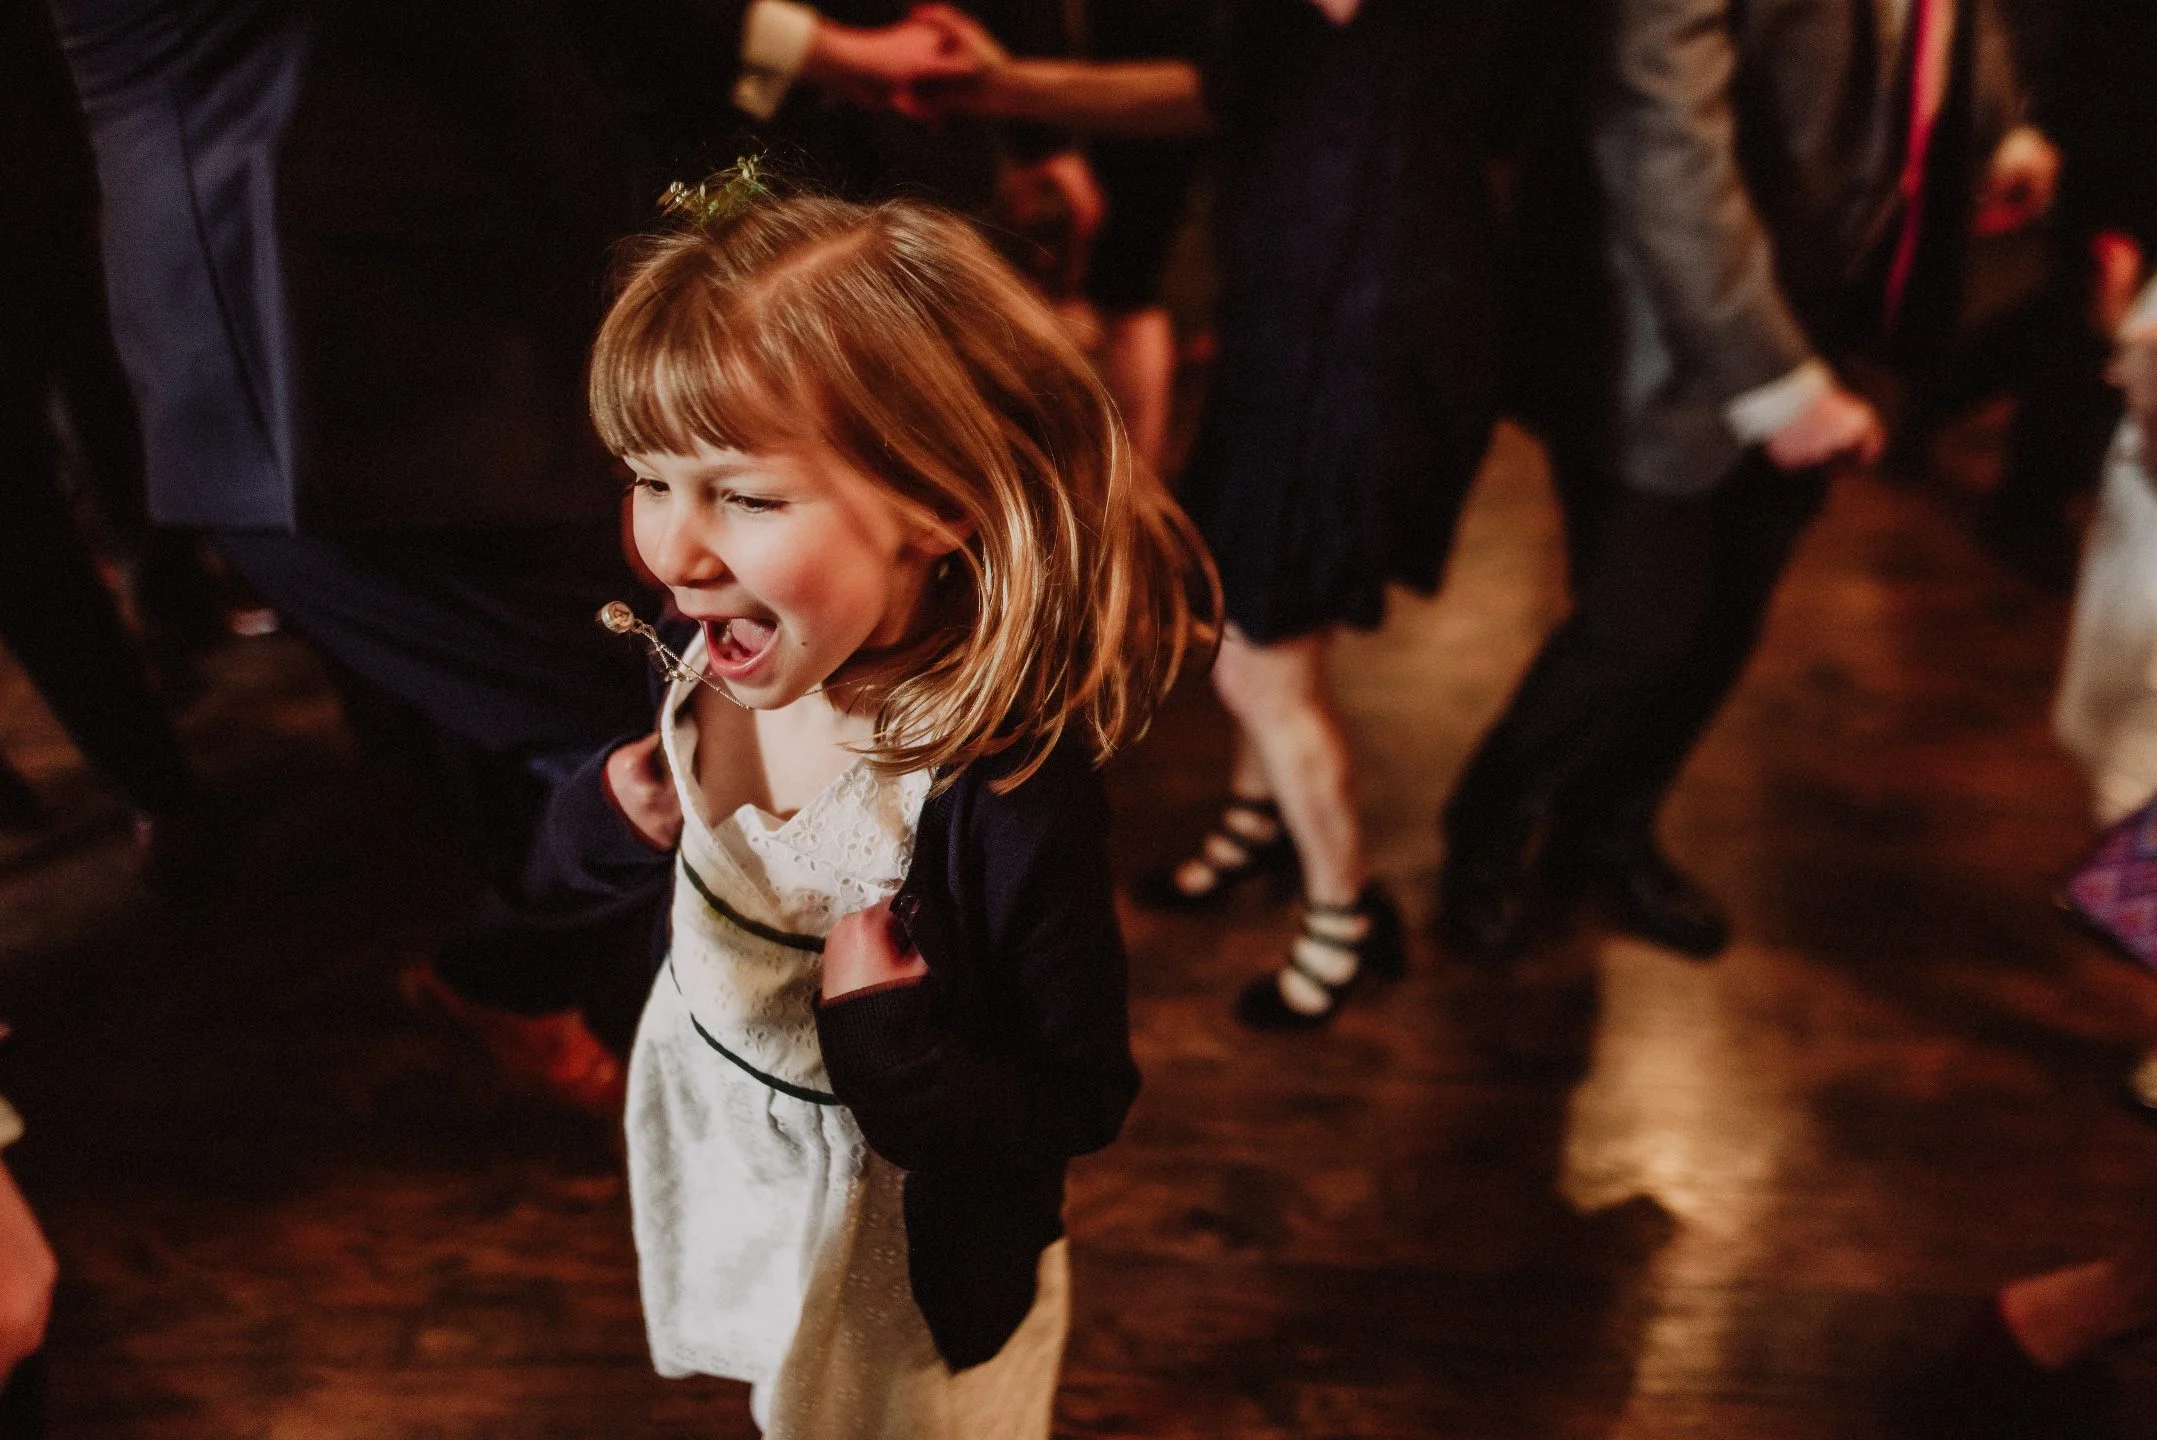
I knew one of the flower girl dresses would need to be my favorite oliver + s pattern: the library dress, and who better to make it for than my rough and tumble namesake etta?
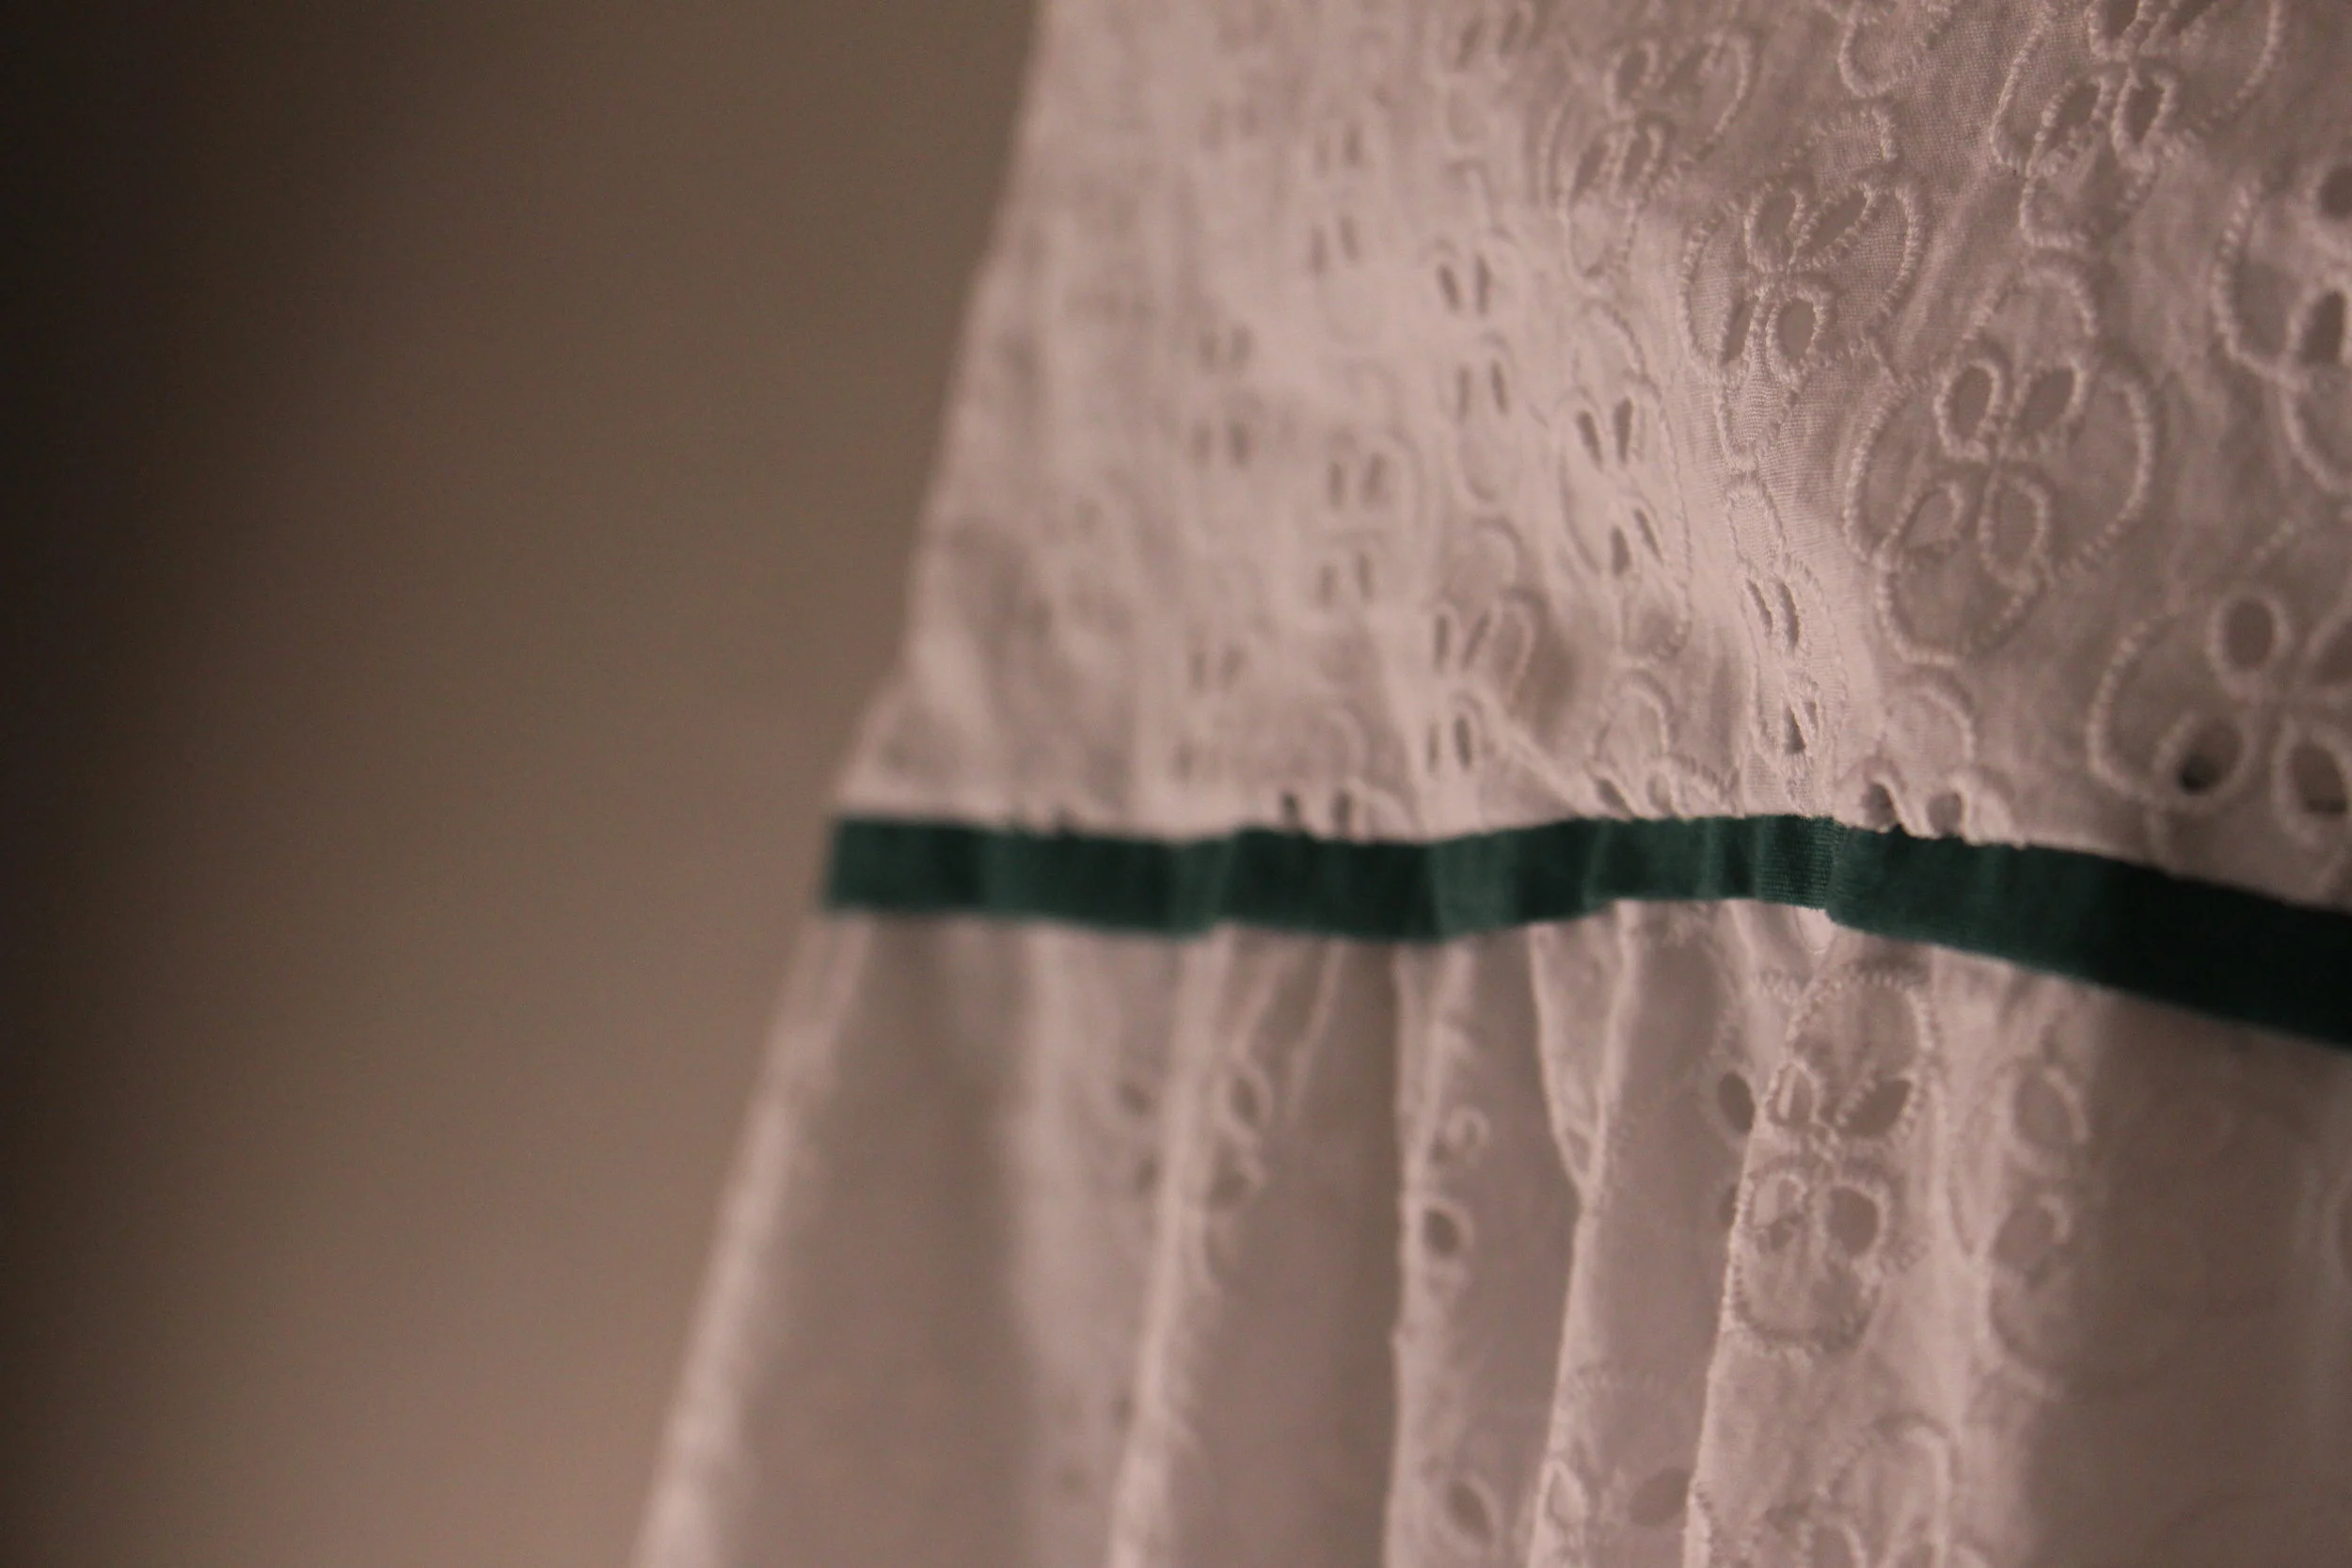
my youngest niece is miss neela banana peela. Now this child is so perfect anything would look great on her.


thus far in our invitation adventure we have:
- embossed the names
- addressed the envelopes
- lined the envelopes
- ordered, then reworked, the actual invites
- made the response cards
- tied it all together with a ribbon and tag
and I have to say all the pieces were looking pretty good.

so far in our wedding invitation saga we have:
- embossed the names on the envelopes
- addressed the envelopes with a copper pen
- lined the envelopes with a fern print
- ordered, then remade, the invites
- made the response cards and embossed the return envelopes
but wait, there's more!

so our invitations have thus far been embossed, addressed, lined, ordered (then reworked). next up was the RSVP cards.

now that the envelopes for our invitations were embossed, addressed, and lined it is time to talk about what we put in them, starting with the actual invitation!

so now that my invites had the names embossed and addressed it was time to turn my attention inside the envelope.

when we last left off with the wedding invitations i had lovingly embossed the names of all our guests on the invitations.
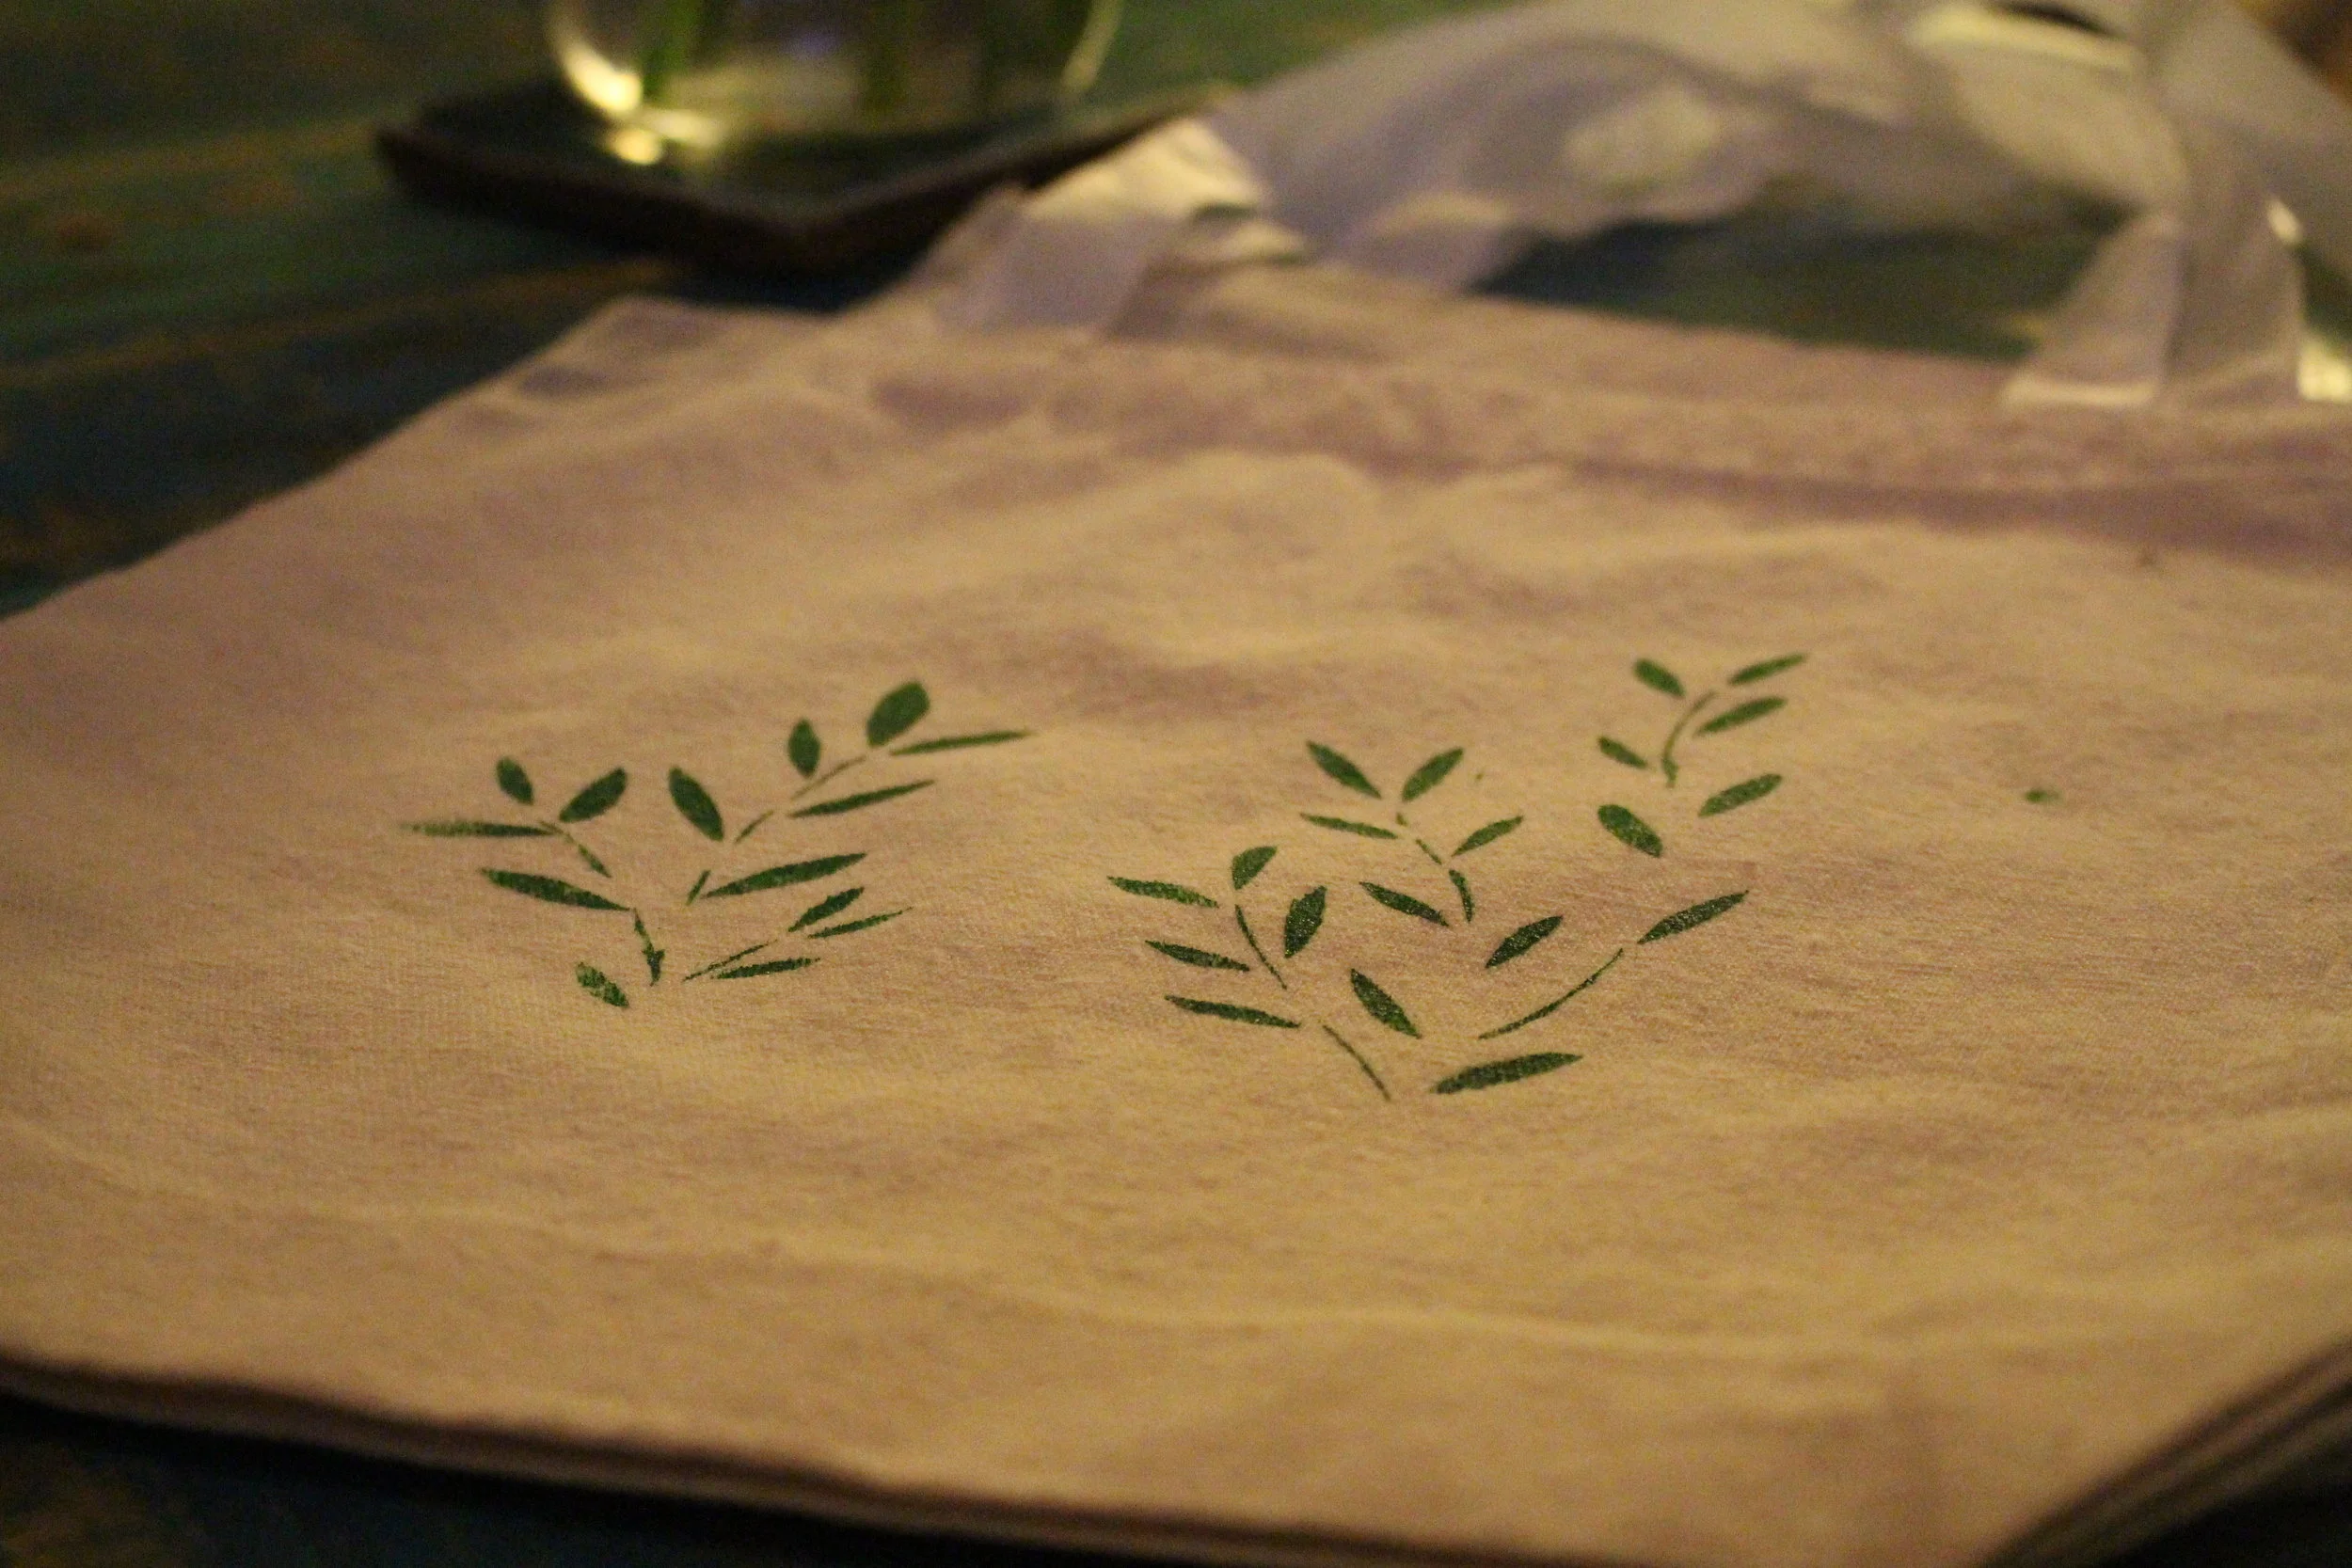
this past weekend my sisters and i went to austin for my "bachelorette" party.
in addition to bridesmaid dress shopping, day drinking, and succulent photographing we made a trip to craft, where for $10/hour you can use all their supplies and tools for whatever creative adventures your heart desires.

some girls have their weddings envisioned long before they are engaged, and the planning process is really just an exercise in execution. i am not one of those girls.

a few weeks ago i came across this giant piece of bark in the woods behind our friend's house.


so in a shockingly turn of events the internet has picked up on the fact that i am a 25-34 year old female who is getting married. this means everyday i get a flood of messages, emails, and ads.